Strong Legs. More Laps. Your Guide to Ski Conditioning
Oct 12th 2026
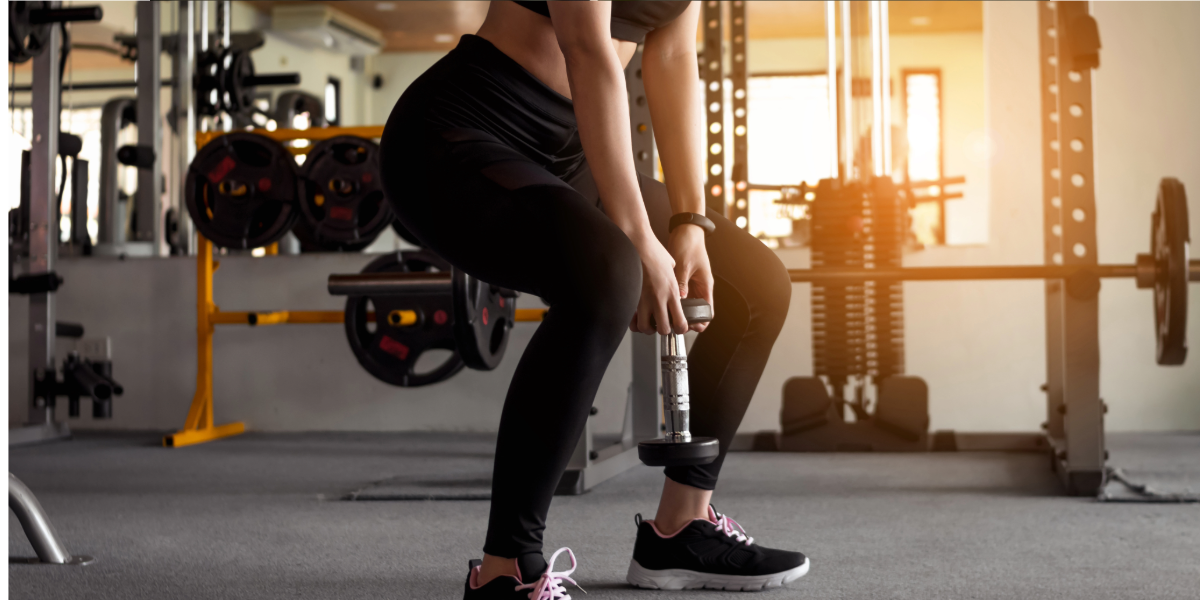
Your skis are ready. Your legs would like a little notice.
Whether you spend winter chasing powder, cruising groomers, or following friends into bumps that looked smaller from the chairlift, a little preparation can make your ski days feel better.
The best ski conditioning combines strength, cardio, balance, and enough fuel to keep everything moving. You do not need to turn your life into a training camp. A few consistent workouts can help you arrive at opening day with more confidence and a little more left in the tank.
At outdoor DIVAS, we are all for making winter more fun. That includes getting ready for it.
Key Takeaways
-
Give your whole body some attention, especially your legs, hips, and core.
-
Mix strength sessions with cardio you actually enjoy.
-
Practice working one leg at a time and moving side to side.
-
Eat enough to support the work, and bring snacks on ski days.
-
Start gradually. Your first workout does not need to be your hardest.
Give Your Legs a Heads-Up
Skiing asks a lot of your legs. They absorb changing terrain, manage pressure through turns, and keep working when the snow gets heavier than expected.
A summer of hiking or biking gives you a helpful foundation, but skiing brings its own demands. Adding strength work can help fill in the gaps.
Aim for two strength sessions a week to start, with a recovery day between them. You can use bodyweight, dumbbells, kettlebells, or gym machines. Choose a challenge that lets you keep good technique through the last repetition.
And give your hamstrings, glutes, and core a seat at the table. Your quads should not have to handle the whole ski vacation.
Eight Exercises Worth Putting in Your Rotation
Pick four or five of these for a session. If you are new to lifting, begin with one or two sets of about 8–12 controlled repetitions. For exercises performed on one side, work both sides. Start with shorter holds for planks.
Build gradually as the movements become comfortable. Rest between sets so you can give the next one your best effort.
1. Squats: The Reliable Classic
Stand with your feet in a comfortable position, lower into a squat, and push through your feet to stand.
Begin by sitting to a sturdy chair and standing back up. When you are ready, hold a dumbbell or kettlebell at your chest for a goblet squat.
Make it ski-useful: Take about three seconds to lower, then stand smoothly. Controlling the descent gives your legs practice managing load.
See the movement: Bodyweight squat demonstration from CU Orthopedics.
2. Romanian Deadlifts: Share the Work With Your Glutes
With your knees slightly bent, push your hips backward while keeping the weight close to your legs. Stand by bringing your hips forward, without leaning backward at the top.
Practice the hip hinge without weight first. Add dumbbells or a kettlebell once the movement feels familiar.
Keep in mind: Use a comfortable range. You do not need to reach the floor.
3. Supported Split Squats: Give Each Leg Its Turn
Stand in a staggered stance, hold a stable support, and lower by bending your knees. Push through your front foot to rise.
Keep the movement small at first and choose a stance that feels steady.
Why we like them: Each leg gets its own assignment. The stronger side cannot quietly take over everything.
4. Low Step-Downs: Practice Your Brakes
Stand on a low, sturdy step with support nearby. Slowly lower your other heel toward the floor, then return to the starting position.
Begin with a small movement and keep your standing knee tracking in line with your foot.
The goal: Control the lowering instead of dropping onto the free foot. A lower step done well beats a higher step done in a hurry.
5. Lateral Lunges: Take It Sideways
Step to the side, bend into that hip and knee, and push back to your starting position. Keep your other leg relatively straight and your movement comfortable.
Start with a small step and no added weight.
Why they belong here: Most everyday exercise moves us forward. Skiing gives us plenty of reasons to practice moving sideways, too.
6. Calf Raises: A Little Lower-Leg Love
Hold a counter or other stable support, rise onto the balls of your feet, and lower slowly.
Start with both feet on the floor. Progress the resistance or try one leg when you can keep the movement controlled.
Small movement, useful addition: Your lower legs deserve some preseason attention.
More lower-leg guidance: Calf raises and ski-season foot preparation from Vail-Summit specialist Dr. John Paul Elton.
7. Dead Bugs or Side Planks: Keep Your Core in the Conversation
For a dead bug, lie on your back with your arms raised and hips and knees bent. Slowly extend an opposite arm and leg, using a range that lets you keep your trunk steady. Return and switch sides.
For a side plank, begin with your knees bent and hold briefly while breathing comfortably.
The goal: Steady control. Stop the set when you can no longer maintain your position.
See the movement: Modified side plank demonstration from CU Orthopedics.
8. Rows: Because Carrying Ski Gear Is Also a Sport
Use a resistance band or a supported dumbbell row to pull toward your torso with control. Keep your shoulders comfortable and avoid swinging the weight.
Why include them: Ski preparation should give your upper body some attention, too. Boots, poles, and skis do not carry themselves.
See the movement: Resistance-band row demonstration from CU Orthopedics.
Want a little more guidance before your first session? Explore Vail-Summit Orthopaedics’ preseason ski guide and Vail-Summit Physical Therapy’s ski and snowboard preparation tips.
Add Some Balance, Then a Little Bounce
Try standing on one leg beside a counter, with a slight bend in your knee. Keep support close and aim for a steady position.
See the movement: Single-leg balance demonstration from CU Orthopedics.
As that becomes comfortable, add small reaches with your free foot or pass a ball between your hands. You do not need an elaborate balance-board setup to begin.
If you already tolerate impact, small lateral hops can add another challenge. Hop a short distance sideways, pause on the landing, and reset before the next repetition.
Do these while you are fresh, and keep the distance manageable. Stepping side to side is a useful alternative if jumping does not feel right.
If impact causes pain, leaking, or pelvic heaviness, use the stepping option and get guidance before progressing.
Find Cardio You Actually Want to Do
A bike ride with a friend counts. So does a brisk walk, a hike, swimming, or a session on the elliptical.
Choose something you can repeat. A perfect workout you dread has a surprisingly short lifespan.
Start with a comfortable duration and build toward steady sessions of about 30–45 minutes. For a simple intensity check, use the CDC’s talk test: at moderate intensity, you can talk but cannot sing.
Excellent news for anyone whose workout partner has strong opinions about their singing.
Feeling Ready for a Harder Effort?
Once regular cardio feels comfortable, try this example on a bike or elliptical:
-
Warm up easily for 8–10 minutes.
-
Go a little harder for one minute, keeping the effort controlled.
-
Recover easily for two minutes.
-
Repeat that pattern four times.
-
Cool down for 5–10 minutes.
Start with one interval session a week if you are recovering well. If your favorite class already includes harder efforts, you may have this covered.
Feed the Legs You Are Asking to Work
Coffee is welcome. Breakfast would also like an invitation.
Eating enough supports training, recovery, and the energy you bring to the mountain. Build meals around carbohydrates, protein, fats, and foods you enjoy.
Put Protein Throughout the Day
Eggs, yogurt, fish, poultry, tofu, beans, and other protein foods can all help you meet your needs.
Spread them across meals instead of expecting dinner to handle everything. A sports dietitian can help personalize amounts if you are increasing training or have specific needs.
Bring Some Carbohydrates Along
Carbohydrates help fuel harder efforts and replenish muscle glycogen. Give them a place in your training meals and ski-day snacks.
Think oatmeal and yogurt before heading out, a sandwich at lunch, and fruit, crackers, or a granola bar in your pocket.
After a workout or a ski day, eat a meal or snack with both carbohydrates and protein. The USADA nutrition guide has practical fueling and recovery ideas.
Drink Before You Remember You Are Thirsty
Make drinking part of your day. Cold weather can make it easy to forget, particularly when getting to your water involves gloves, zippers, and a small negotiation.
Take breaks, drink regularly, and pack snacks you can actually access.
A Week That Leaves Room for a Life
Here is an example for someone already exercising regularly. Shorten sessions or start with fewer days if you are building a new routine.
Monday: Strength session. Pick four or five exercises from the list.
Tuesday: A comfortable walk, ride, swim, or other cardio session.
Wednesday: Rest, easy movement, or a favorite mobility class.
Thursday: Another strength session, with some balance practice.
Friday: Optional intervals if you feel recovered.
Saturday: A hike, bike ride, or active outing with a friend.
Sunday: Rest.
Adjust the schedule around your energy, recovery, and other commitments. Increase one thing at a time, such as resistance, repetitions, or duration.
Once skiing starts, count ski days as training. Give yourself room to recover between demanding days.
Make the Preparation Part of the Fun
Meet a ski friend for a workout. Pick a hiking route with a coffee stop. Put on a playlist that makes squats slightly more appealing. Join a ski conditioning class at your local gym.
Give yourself several weeks to build gradually, ideally six to eight or more. If opening day is closer, start with what you can manage now.
Track something useful: a steadier step-down, a stronger squat, or a hill that feels a little easier. Consistency gives those small improvements room to add up.
Then take that preparation to the mountain, ease into your first days, and enjoy the turns you came for.
We will see you out there. Bring snacks.
Exercise selections and workloads should suit your health, training background, and injury history. Get individual guidance for painful movements or a return to exercise after injury.